
 “Yes,” I said to my sister Lucy, “of course I’ll make your birthday cake.”
That was before I realised her Hawaiian Luau was going to be the biggest and most impressive party our family’s ever had, and the cake would need to match.
Here’s how I made it:
There are three Victoria sandwich cakes. The base is plain cake and the top two are chocolate. I made them the day before to give plenty of time for decorating the Hawaiian Luau cake. I also made a few buns out of the cake mixture.
Each cake was cut in half horizontally and the whole thing was sandwiched together with jam and buttercream (butter icing) – huge chunks of boring cake never go down well, especially if you’re given a middle bit with no icing, and I knew the cake would keep moist longer. I used a wooden board covered with aluminium foil, as the finished cake would be very heavy.
Top Cake
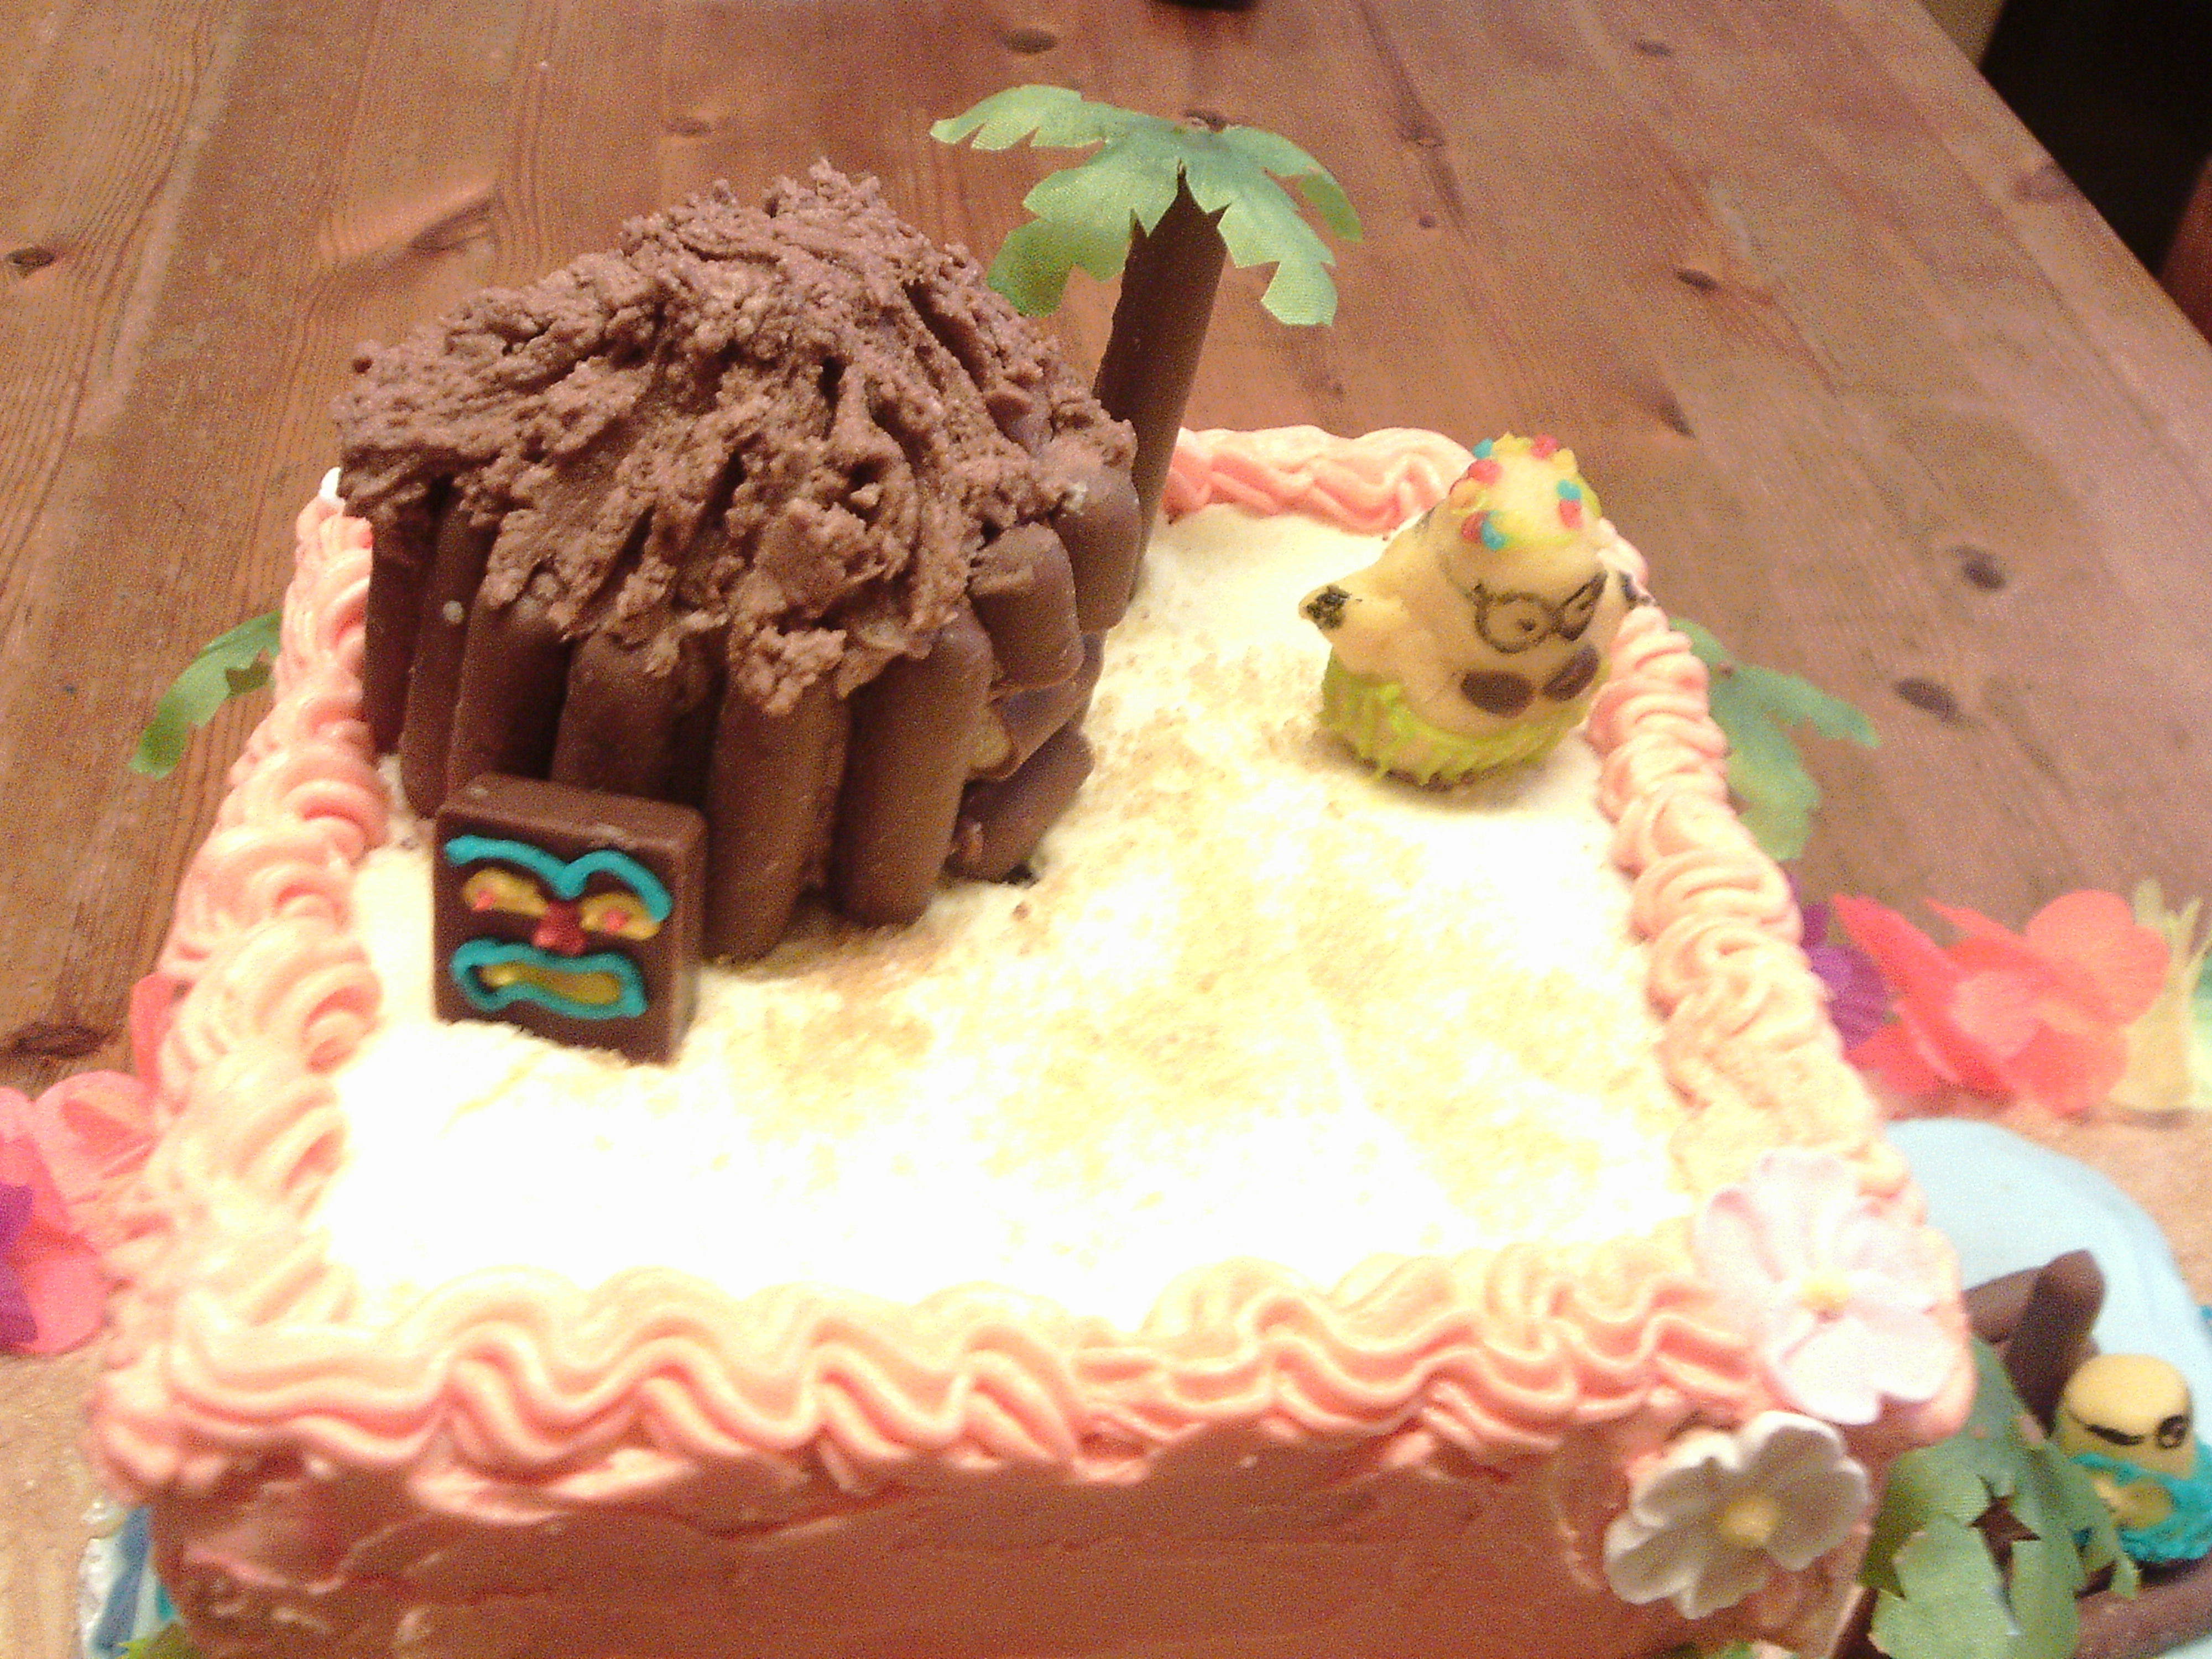
I didn’t use fondant icing, as my sister doesn’t like it and had asked for lots of buttercream. The upper cake has natural-coloured buttercream spread on the top, sprinkled with demerara sugar to add a sandy look. I made a little hut with two buns on top of each other, covered with chocolate buttercream. I gave the roof of the hut a straw finish using a fork, and added mini choc fingers around the sides. I iced the underside of a chocolate square with writing icing to make a tiny Tiki to lean against the hut.
I coloured some buttercream yellow and spread it around the lower half of the sides, then coloured the rest of it orange by adding pink colouring. I spread the orange on the upper half of the sides and blended it together slightly to look like a sunset sky. Then I piped a swirly bit around the top with the orange to trim it.
Palm Trees
These were surprisingly easy – I used the green flowers from a Hawaiian lei to cut out palm leaf shapes (I just trimmed each petal to make it long and thin, then snipped two tiny triangles out of each side, leaving me with a set of leaves joined together in the middle). The trunks were chocolate fingers with a dab of buttercream on top.
Middle Cake
 I added a little cocoa powder to make some buttercream a sandy colour. I used this for the top of the second cake – only the edge was showing – then used green writing icing to add grass where the ground met the sky.
The sides of the middle cake were made by using chocolate buttercream in an icing syringe with a wide star nozzle, icing lines upwards from bottom to top to make the palisade.
Luckily I’d bought a few sugar flowers to cover any mistakes!
Lower Cake

The lower cake was iced with ordinary icing, tinted light blue. I used a tube of darker blue to ice waves around the base, and added piped-on coloured fish and green seaweed on the sides using writing icing. I made a raft by sticking a chocolate finger into the cake, then surrounding it with mini fingers. The shark fin was cut from the black plastic inside the packet of chocolate fingers!
Minions
I made the Minions out of golden marzipan and iced on the details with writing icing. Here’s my best tip for making Minions – DON’T! They’re really fiddly and difficult and adding a few Lego people would look far better.
Base Board
I spread a thin layer of sandy-coloured buttercream on the board around the sea. I added chocolate squares with letters saying Happy Birthday, then sprinkled the rest with demerara sugar to look like sand.
As a final trim, I added two flower leis around the edge of the board, sellotaped onto the foil.
So, if you want to make an easy Hawaiian Luau cake that will impress everyone – that’s how!
(If you’re wondering who did the washing-up, it was my partner, Jonathan. And if you’re wondering where I got the decorations I used – apart from the candle, they all came from Sainsbury’s.)